This is effectively a locally running example of what is currently available on the excellent Keycloak course on Katacoda: https://www.katacoda.com/keycloak/courses/keycloak.
In order to get keycloak up and running I have used a virtual machine running RHEL8. I have given this machine the hostname rhel8-keycloak.
Setting up the virtual machine with Keycloak
Here are the steps I used to install java, keycloak, configure the firewall, and run keycloak:
Setting up a Keycloak Realm, Role, and User
From your workstation navigate to https://rhel8-keycloak:8443/auth/. This should take you to the Keycloak screen:
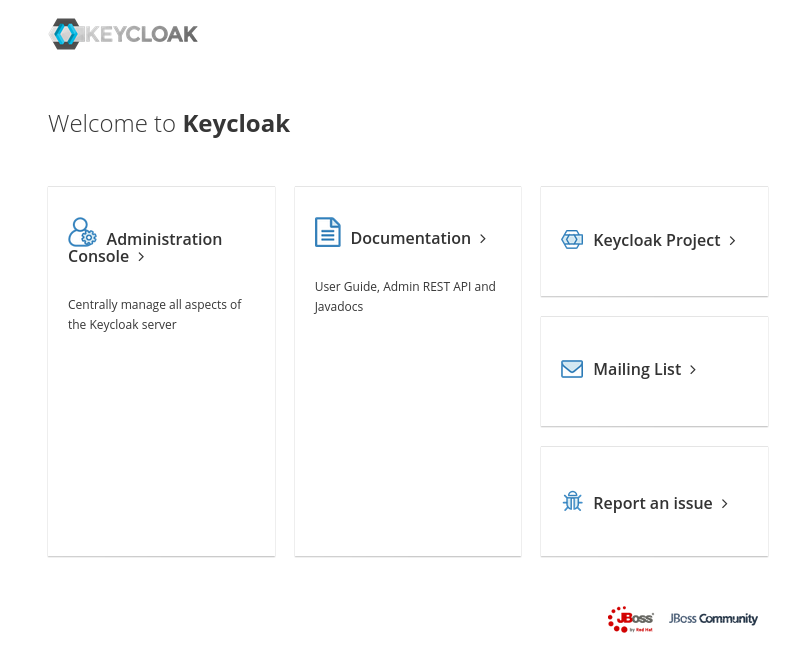
You can now login to keycloak using the username:password admin:admin (as specified from ./add-user-keycloak.sh).
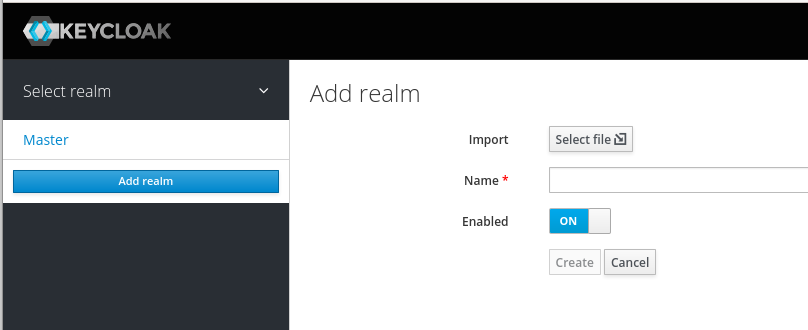
Create a Realm example.

and then add the realm example:
Navigate to Users and click Add user:
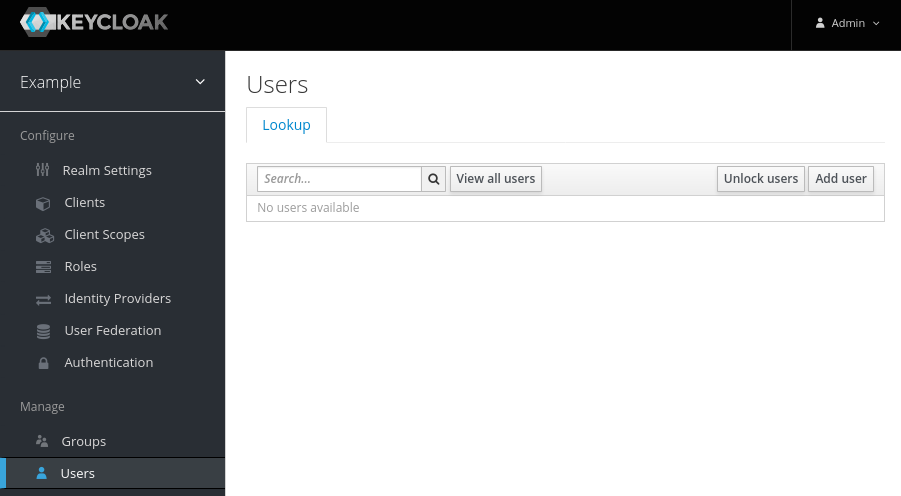
Create a User someuser.
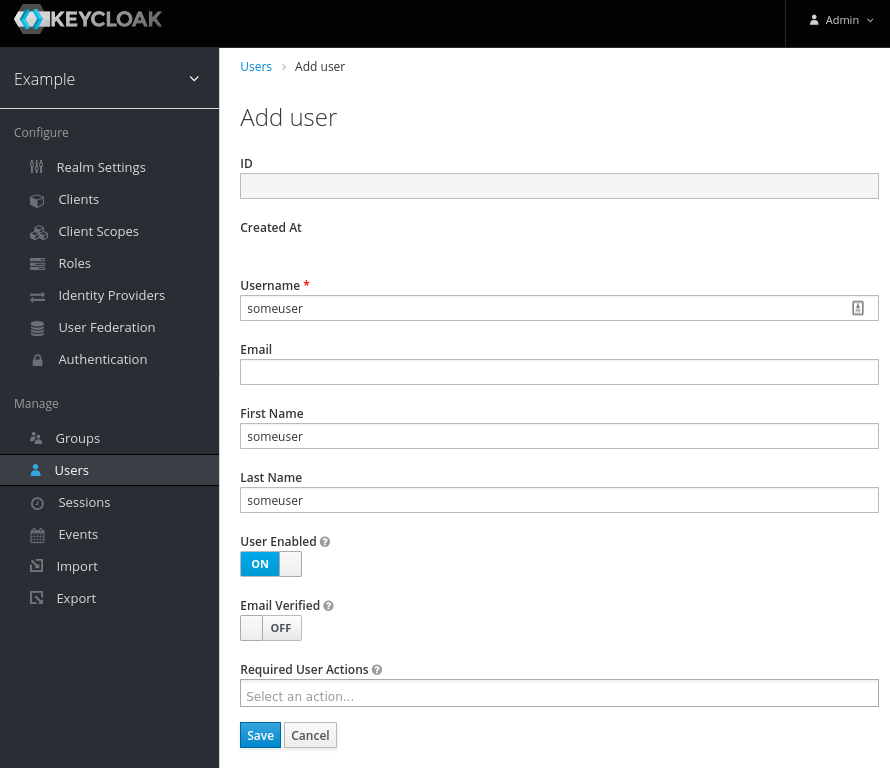
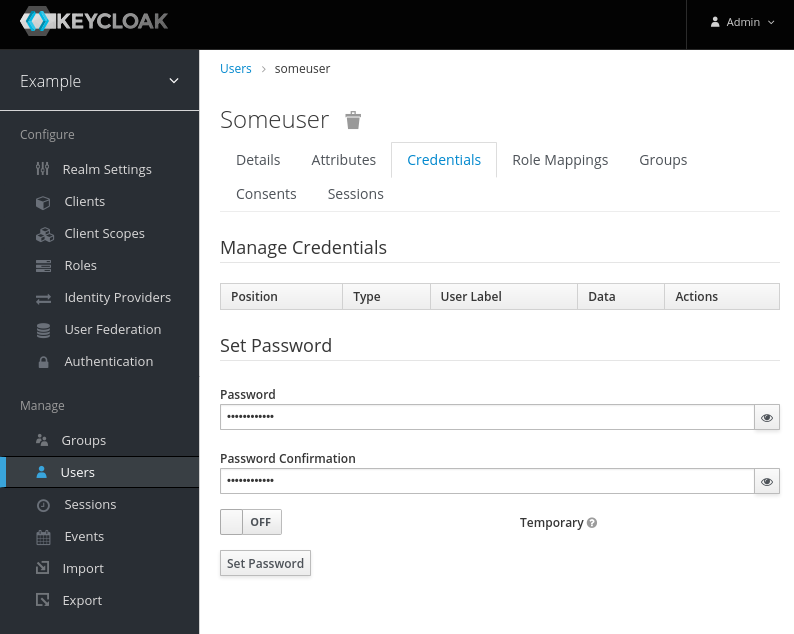
Then set the password somepassword
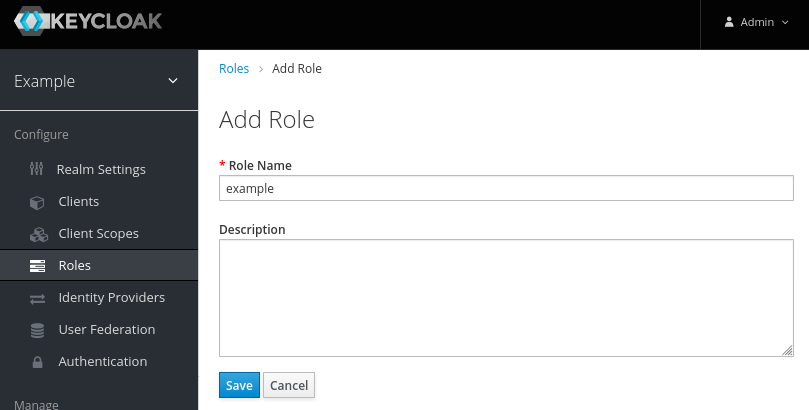
Create a Role example.
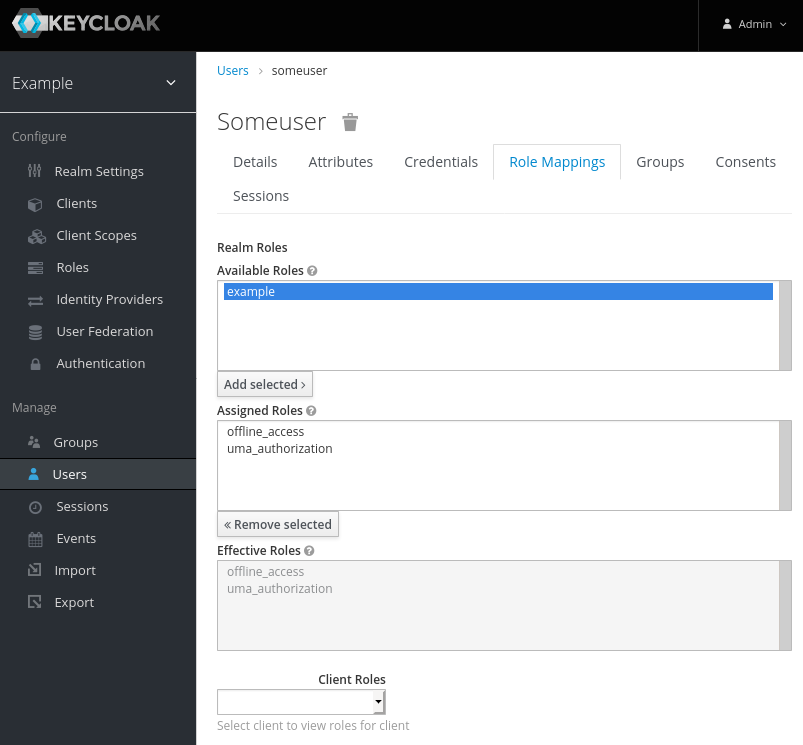
Map the User someuser into the Role example.
Now we are ready to create a nodejs service that will authenticate with Keycloak.
Securing a Node JS Service
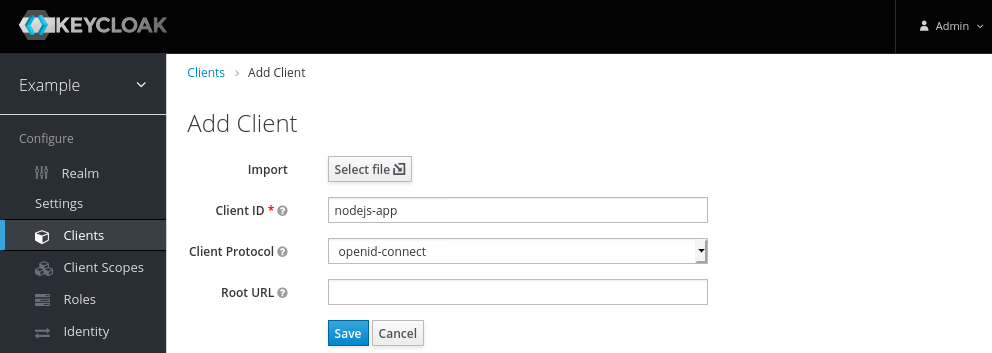
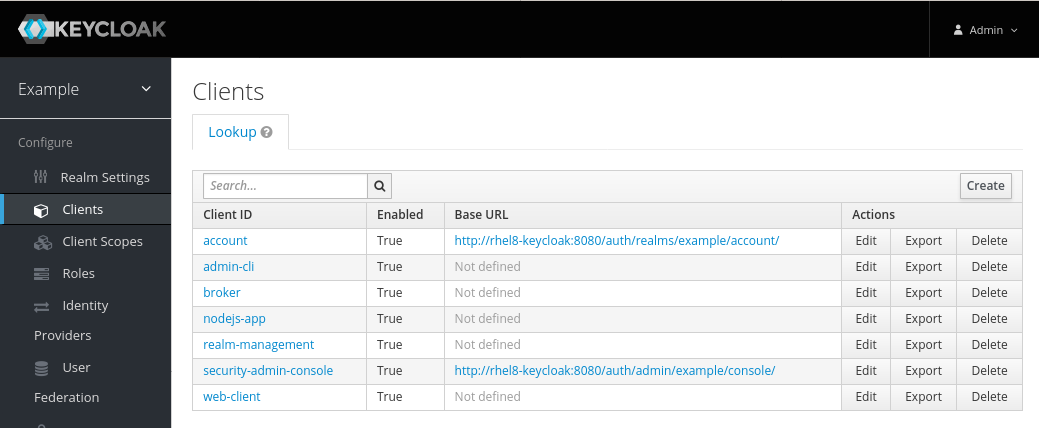
Firstly we need to add a new client to Keycloak. Add a new client called nodejs-app:
Secondly we need to get a nodeJS app up and running, configured to use keycloak for authentication. We need to git clone, npm install, and npm start.
Note that the keycloak.json file in the application defines the realm and auth-server-url variables.
Now try curling the service…
There is also a protected url that required authentication, the curl to this should show access denied:
The app.js file shows how this is secured against the example realm:
app.get('/service/secured', keycloak.protect('realm:example'), function (req, res) {
  res.json({message: 'secured'});
});
Now we need to get a token from Keycloak, we will authenticate in order to get a token as follows:
Now using this access token we will be able to authenticate against the service:
curl -v http://localhost:8080/service/secured -H "Authorization: Bearer "$access_token
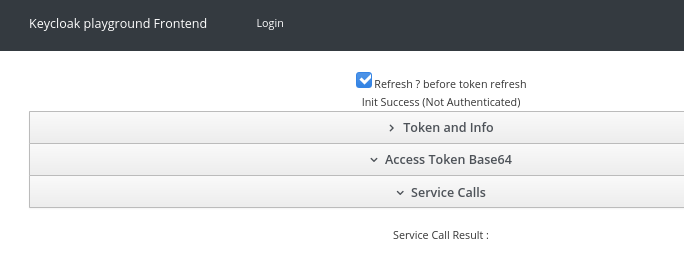
Securing the Keycloak Playground Frontend
In this section we look at configuring the keycloak-app-example which is a simple web app, and will authenticate against the example realm, but it will prompt the user in order to do so.
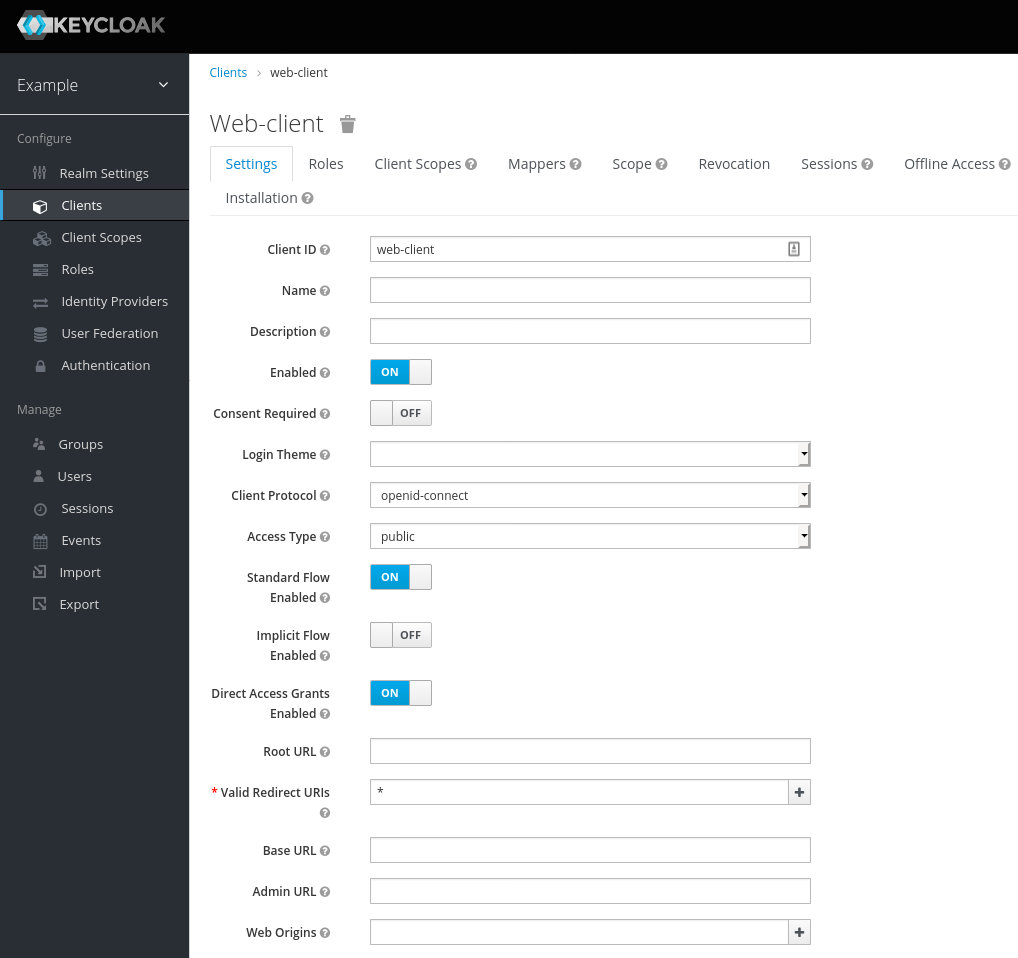
We need to create another new Client in Keycloak called web-client. It is important that we add the asterix * for Valid Redirect URIs.
and we export the configuration of the client (web-client.json) from Keycloak, this will be a json file that we overwrite in the keycloak-app-example:
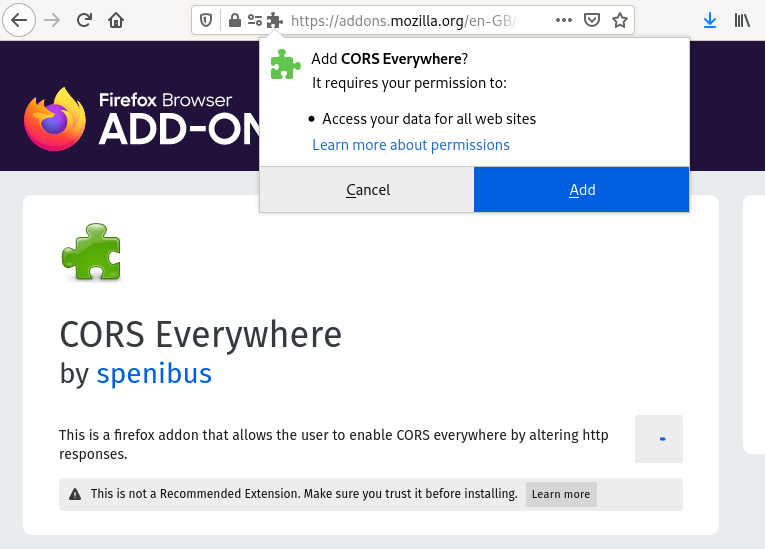
Another help is to allow CORS, I have done this using a Firefox plugin:
Now we start the application with python:
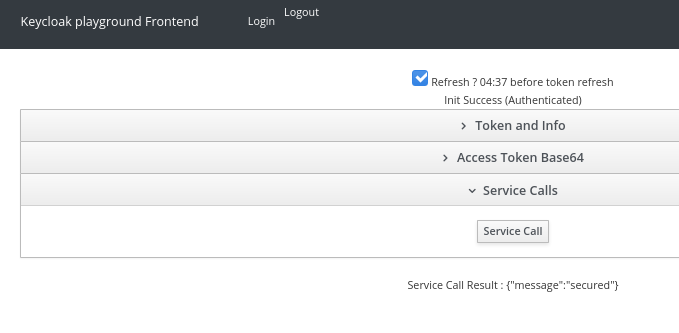
We will be presented with the web screen:
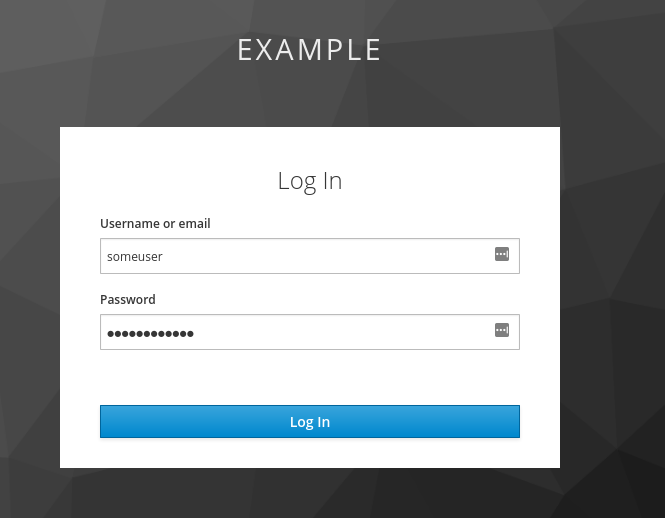
After the user clicks “Login” they will be forwarded to the Keycloak authentication screen. Here we can use our someuser and somepassword credentials.
Once authenticated we can see our token info:

And also we should be able to call our locally running nodejs REST service: