
Usually anything to do with certificates and security, I end up spending far more time than I expected, so this blog post is an attempt to reduce time spent in the future. Certs bloody certs. Ok, so the scenario:
One customer had a container image running a http service on a docker host, however, it could only be accessed via an nginx reverse proxy. This proxy provided SSL termination and forwarded the requests to the http service, along with the identity of the client via http headers (this was extracted from the client ssl cert that was provided to nginx).
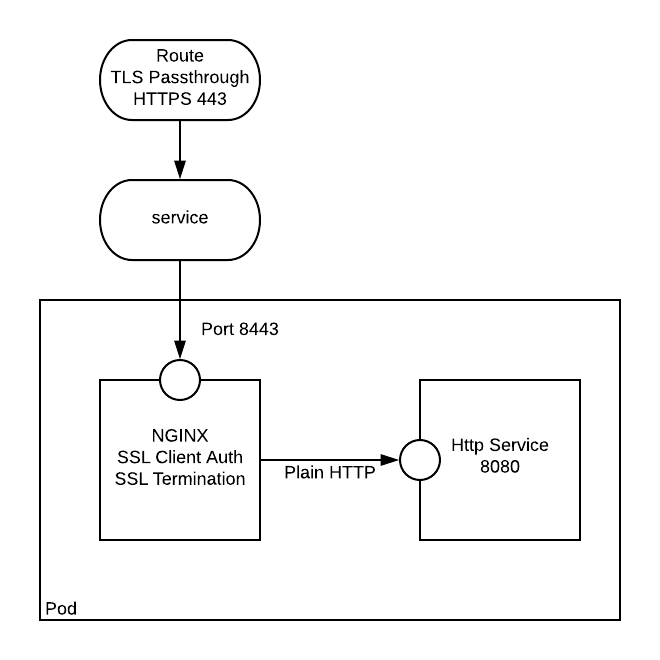
The task in hand was to get this very same setup up and running in an Openshift environnment. The Openshift route objects, while providing SSL, would not provide the client identification required of the http service. The very first solution that sprung to mind was to use a sidecar container. The nginx sidecar container can sit alongside a http service, and it would act like the http service is local to itself.
Stand up a plain http application
For the purposes of this exercise, I am using crc. minishift can also be used. Initially we need to create a simple app that exposes some http application. In this instance we create a simple nodejs app from a template that is available in the openshift namespace.
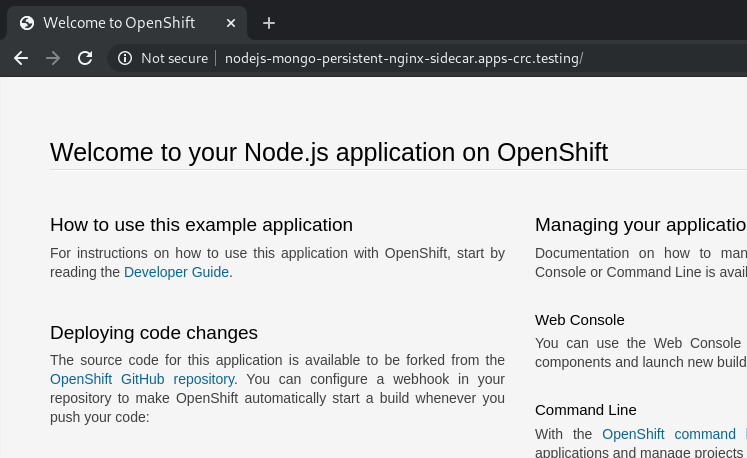
You should now be able to user your browser to get to the default route that was created:
http://nodejs-mongo-persistent-nginx-sidecar.apps-crc.testing/
Note: I ran into this issue on Fedora - follow the instructions to resolve: https://github.com/code-ready/crc/issues/119
Generating the Certificates
As explained in the below gist we need to do the following:
- Generate a Root CA (Ideally you would have a proper one, but for this we are just self-generating).
- Export the Root CA Certificate
- Create a “Server” Key and certificate signing request
- Create a “Server” Certificate that is signed by the Root CA (Self signing)
- Create a “Client” Key and certificate signing request
- Create a “Client” Certificate that is signed by the Root CA (Self signing)
- Package the client certificate into a format that can be imported and used by a web browser
It can be seen throughout that where a password is required I have used password.
During the certificate requests you will be prompted for more info, I mainly focused on using a Common Name that was appropriate for each scenario (i.e. Root, Server, and Client). Any ‘extra’ attributes like challenge password were left blank.
Creating an NGINX build
Now we need to create an nginx configuration which will use our certificates. This Nginx configuration will listen on port 8443, and use the ssl certs we have created. It will proxy requests to a plain http://localhost:8080.
The following command will build an ssl configured nginx image using s2i based on the Red Hat nginx image:
It can be seen from the snippet below that the ssl certs are required to be in a certain directory (/etc/nginx/certs/):
You should be able to see the build complete, like so:
Creating the Secret and Sidecar
Now we need to create a secret to store our certs, we only require the server.crt, server.key, and ca.crt:
Everything is now ready for us to add in the sidecar nginx, to hook it up we need to do the following:
- Add the container into the deploymentconfig
- Mount the nginx-certs secret as a volume for the nginx container
- Change the service to point to 8443 on the deployment config
- Change the route to allow TLS Passthrough
oc edit dc nodejs-mongo-persistent : added nginx sidecar, and secret nginx-certs mounted
oc edit svc nodejs-mongo-persistent : service changed to point to port 8443
oc edit routes/nodejs-mongo-persistent : route changed to add tls passthrough
Our app should now be configured for client ssl auth (note that it is optional - so you can still browse to the nodejs app by going to https://nodejs-mongo-persistent-nginx-sidecar.apps-crc.testing)
Configuring the browser client with the SSL client cert (Chrome)
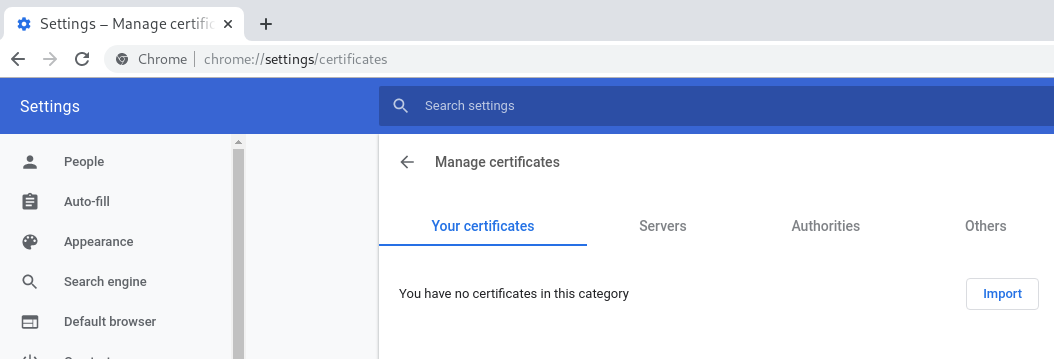
Navigate to chrome://settings/certificates. You will see that you are able to import certificates:
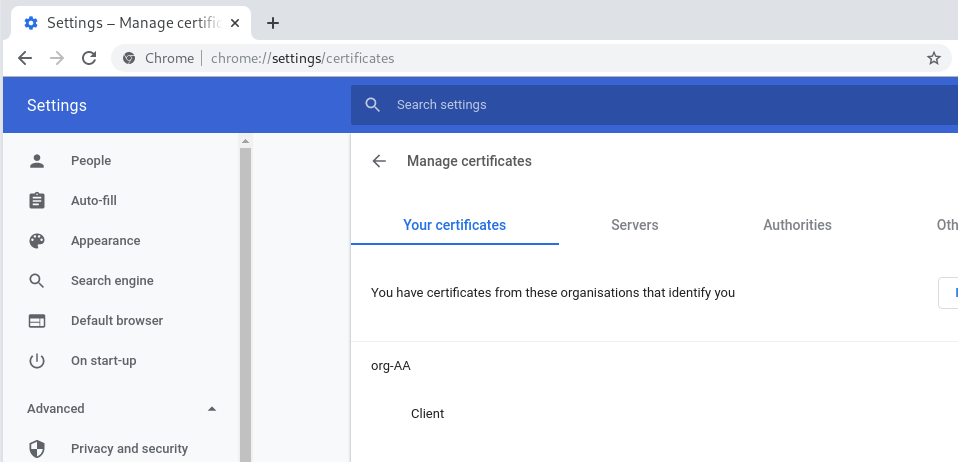
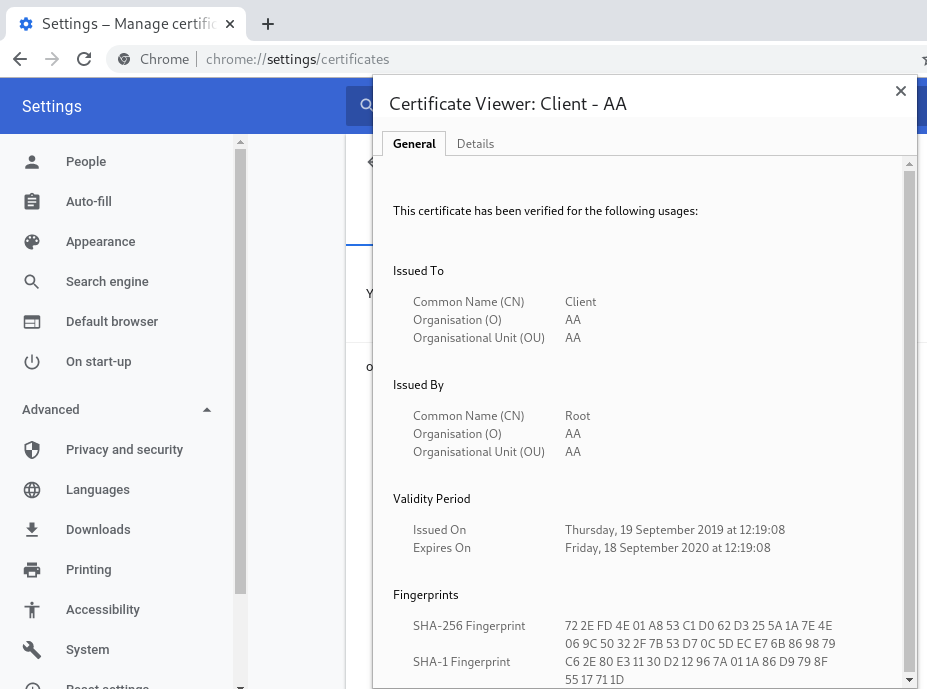
Once imported you can view the certificates:
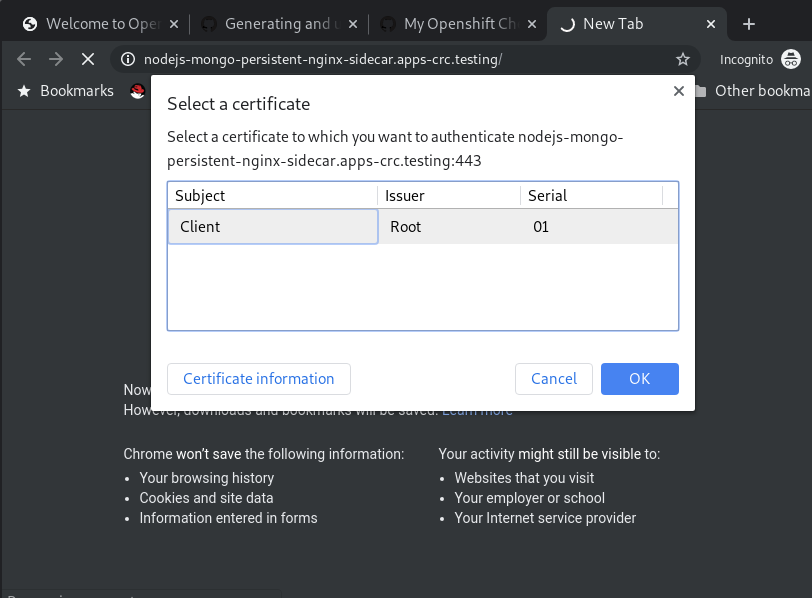
Now when you browse to https://nodejs-mongo-persistent-nginx-sidecar.apps-crc.testing you will be challenged to authenticate. This will throw up a prompt for you to select the certificate with which you want to authenticate:
Phew! Well, it doesn’t sound like much work, does it?
Now we have a working ssl client auth. If you’re happy with it then you can change your NGINX config to ssl_verify_client on.
References
